

The more time I spend in my kitchen, the more I appreciate the notion that some of the best recipes are the simplest. With only 5 ingredients and a short cooking time, this sauce has become my go-to on school nights or when I’m crunched for time. I’ve made this recipe so much over the past decade, I couldn’t possibly count! Plus, it is the one my children know and love — a comfort food they will forever remember.
Originally discovered in Heidi Swanson’s, Super Natural Cooking, I’ve only marginally adapted her version to suit our tastes; namely adding more garlic and cooking it slightly longer (I think it develops a better flavor that way.) But by all means, it can be ready in 20 minutes! The recipe can also easily be doubled and frozen. I usually serve ours over penne or rigatoni, but it could also become the base of a pizza, layered into a lasagne, or used as a dipping sauce.
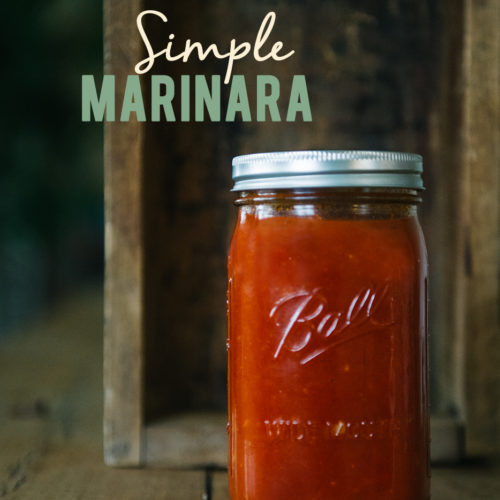
Simple Marinara
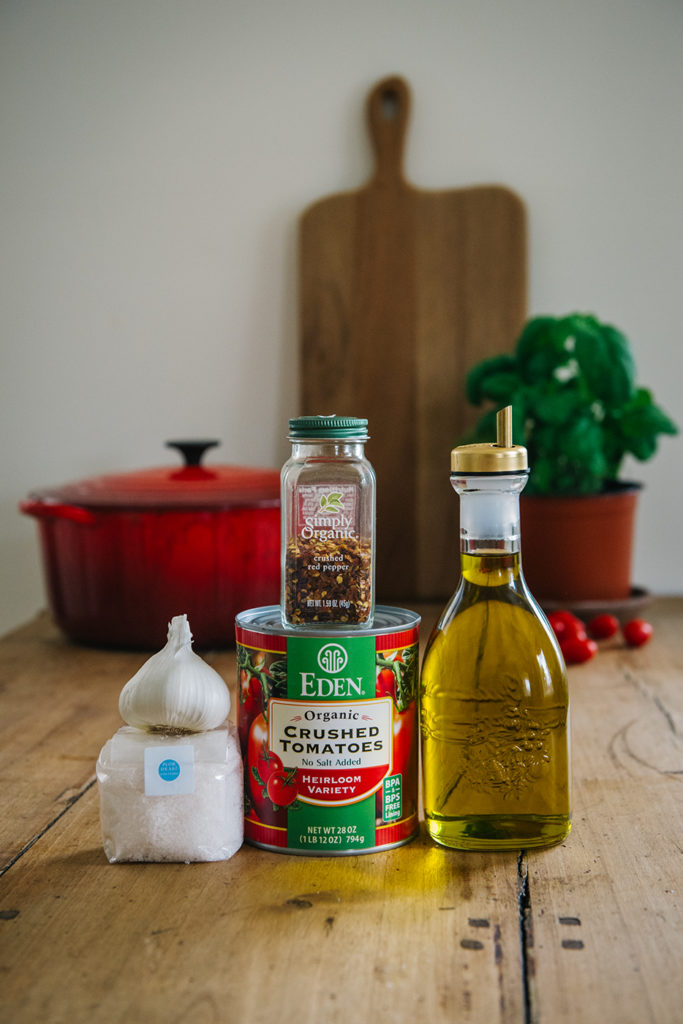
Ingredients
- 1/4 cup extra-virgin olive oil
- 1 tsp kosher salt
- 1 pinch crushed red pepper flakes (or more for spicier sauce)
- 1/2 head garlic, finely minced (or less if sensitive to garlic)
- 28oz can organic, crushed tomatoes (do not use diced, pureed or whole)
Instructions
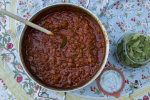
- Prep all ingredients, including finely mincing the garlic cloves. In a saucepan on medium-low heat, add olive oil, salt, red pepper flakes and garlic. Cook gently for about 5 minutes or until garlic has softened. Do not allow garlic or pepper to burn! Add the can of tomatoes and stir well. Cook uncovered for 15 minutes, stirring regularly. (If I have time, I cook mine for at least 30 minutes or more to develop the flavor.) Serve with pasta, use as a pizza or dipping sauce, or freeze for later use.
You might be interested in


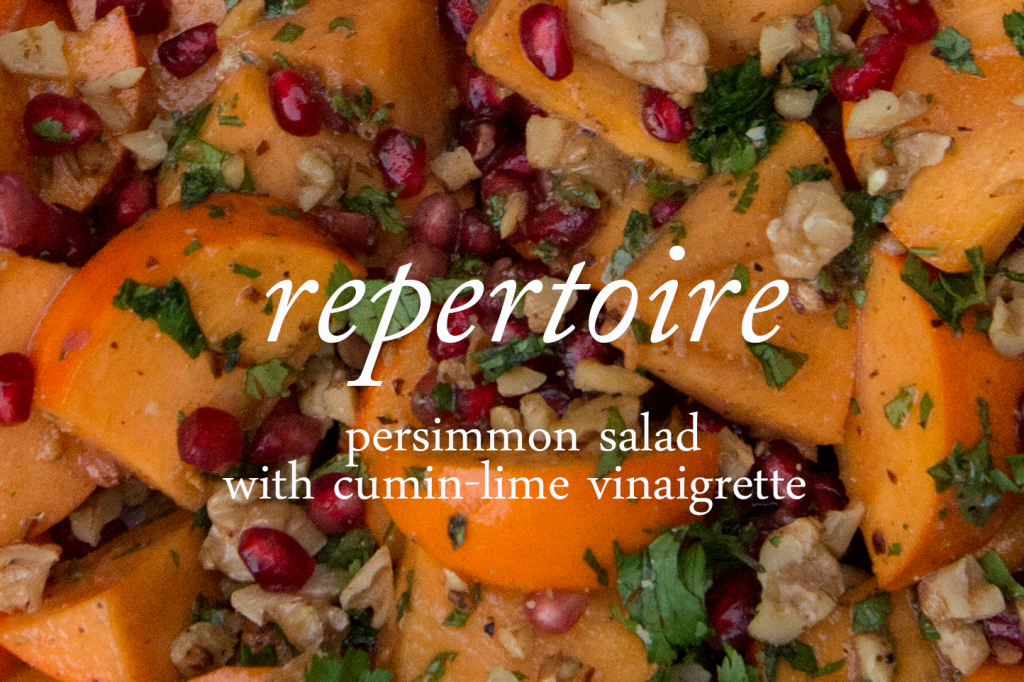
 I discovered this beautiful and unusual salad several years ago at my friend
 I’m not sure what’s in the air, but boy have I been in the mood to tackle projects that have been looming over me for years! There has been a bunch of purging going on around here and this lightening of the load has inspired action in all sorts of other areas.