Recipes

Simple Marinara

/

The more time I spend in my kitchen, the more I appreciate the notion that some of the best recipes are the simplest. With only 5 ingredients and a short cooking time, this sauce has become my go-to on school nights or when I’m crunched for time. I’ve made this recipe so much over the past decade, I couldn’t possibly count! Plus, it is the one my children know and love — a comfort food they will forever remember.
Originally discovered in Heidi Swanson’s, Super Natural Cooking, I’ve only marginally adapted her version to suit our tastes; namely adding more garlic and cooking it slightly longer (I think it develops a better flavor that way.) But by all means, it can be ready in 20 minutes! The recipe can also easily be doubled and frozen. I usually serve ours over penne or rigatoni, but it could also become the base of a pizza, layered into a lasagne, or used as a dipping sauce.
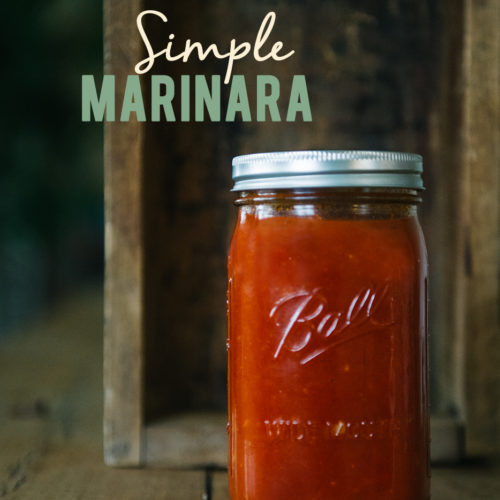
Simple Marinara

180360 (adapted from Super Natural Cooking)
A quick, 5 ingredient tomato sauce.
Prep Time 5 minutes
Course Main Course
Cuisine Italian
Servings 3 cups

Ingredients
  

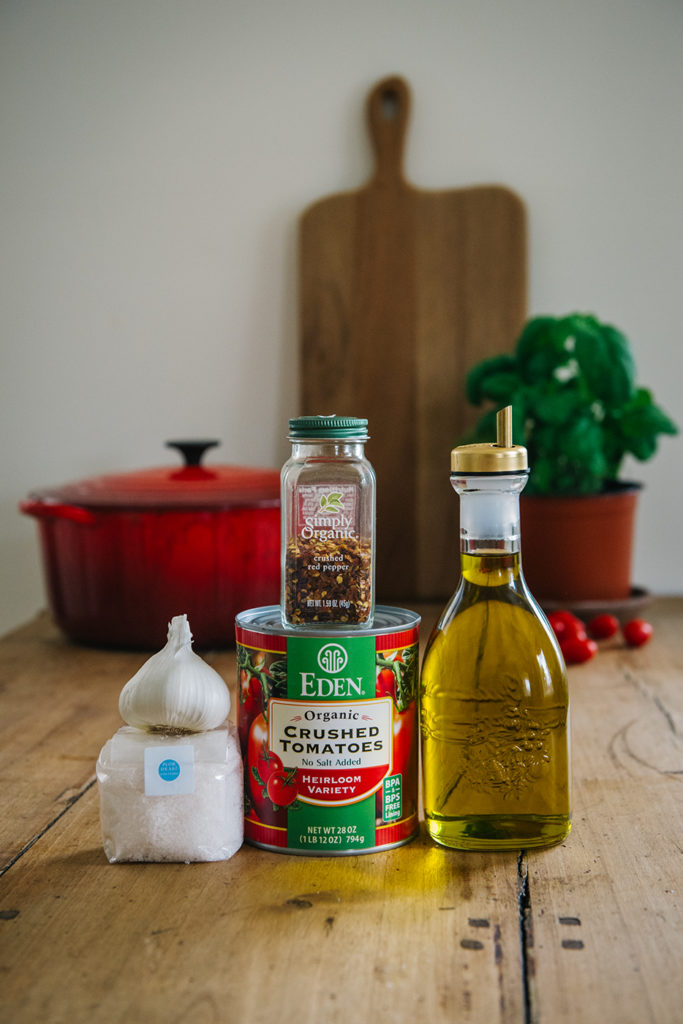
  • 1/4 cup extra-virgin olive oil
  • 1 tsp kosher salt
  • 1 pinch crushed red pepper flakes (or more for spicier sauce)
  • 1/2 head garlic, finely minced (or less if sensitive to garlic)
  • 28oz can organic, crushed tomatoes (do not use diced, pureed or whole)

Instructions
 

  • Prep all ingredients, including finely mincing the garlic cloves. In a saucepan on medium-low heat, add olive oil, salt, red pepper flakes and garlic. Cook gently for about 5 minutes or until garlic has softened. Do not allow garlic or pepper to burn! Add the can of tomatoes and stir well. Cook uncovered for 15 minutes, stirring regularly. (If I have time, I cook mine for at least 30 minutes or more to develop the flavor.) Serve with pasta, use as a pizza or dipping sauce, or freeze for later use.
Keyword Sauces

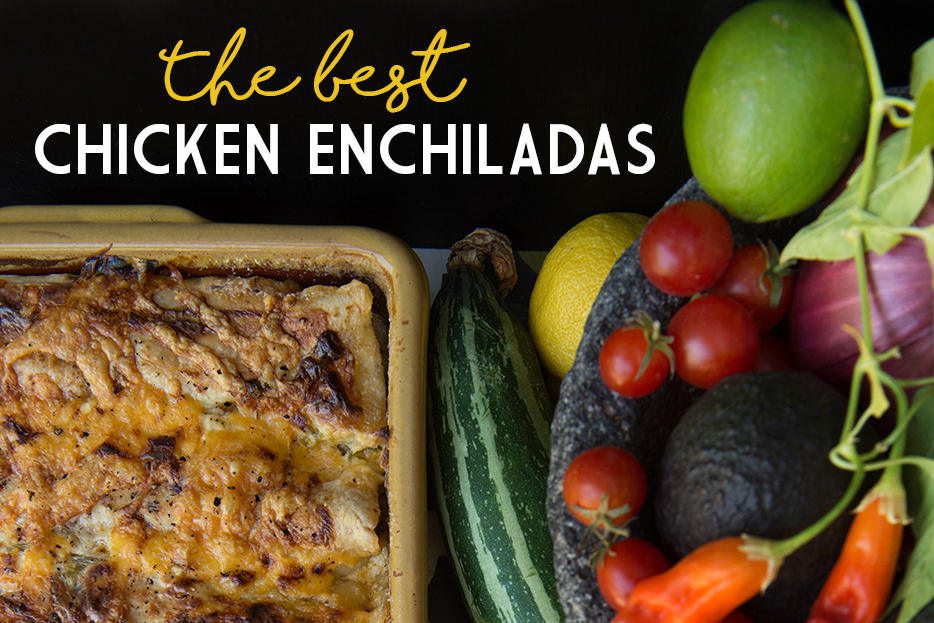
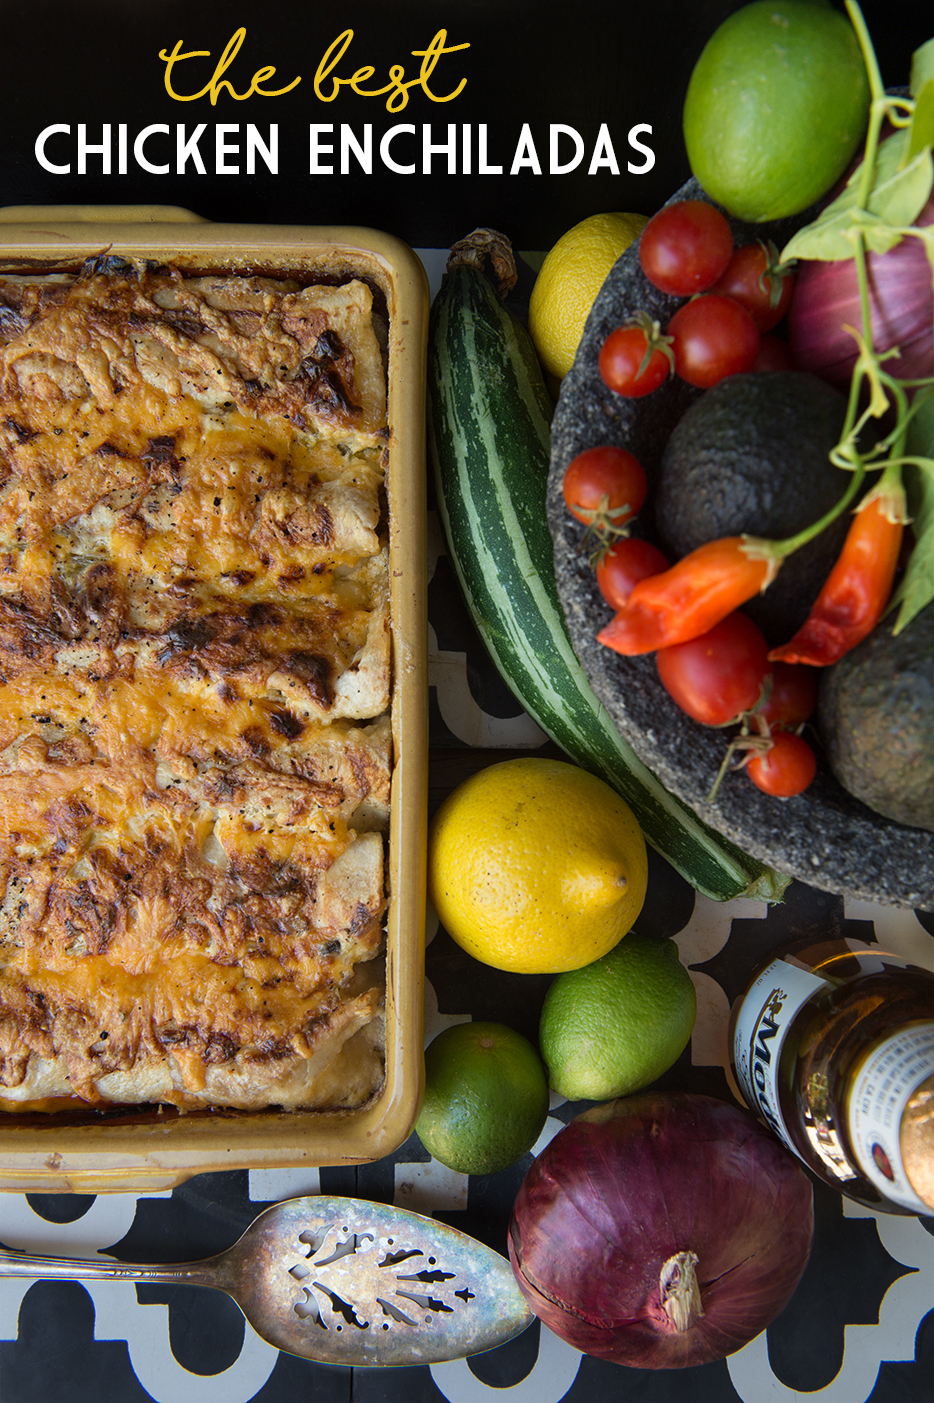
Best Chicken Enchiladas

//

Food from our childhood evokes such strong emotion, doesn’t it? My mother’s Chicken Enchiladas were one of the staples of my youth — but honestly, they weren’t my favorite. Fast forward twenty years to the point where I started cooking for myself. This was one of the first recipes I tried making on my own. I considered what I didn’t like about them and knew with a little tweaking they could be so much better! Over time, I worked out what I think make these pretty much perfect. Unfortunately, at the time, I eyeballed everything and had to share the recipe verbally with a lot of suggestions. I’ve finally taken the time to figure out the basic measurements. However, I do have a few tips and suggestions to follow.

First, there are some recipes that are worth making in large quantity and this is one of them. I always make at least 2 meals worth (sometimes it turns out to be 3) and I freeze what we won’t be eating right away. There is nothing better than having some fool-proof meals ready to pop in the oven at a moments notice. The amount this recipe makes varies on a few things — size of tortillas, how many pans are used and how full the enchiladas are filled. The good news is, the recipe is quite forgiving and flexible. Second, I’ve tried many different varieties of chicken, but this is the one I keep coming back to. Yes, you could use a rotisserie chicken, but I found the meat to be drier and stringier than the large diced breast meat. You could also swap the breasts for thighs, but they weren’t quite meaty enough for me. I’ve seen my mom use canned and pre-cooked, packaged chicken (ACK!) but that completely makes my head spin. Whatever you do, don’t do that! Poaching the chicken in salsa is simple and gives a nice, subtle flavor.

Lastly, I realize these are not exactly traditional. Enchiladas are supposed to be made with corn tortillas but I prefer to use flour for these. I’d call this “American-Mexican” comfort food at it’s finest. All I know is, they are the number one thing my children and husband request I make.

Best Chicken Enchiladas
Print
Ingredients
  1. 6 boneless, skinless chicken breasts
  2. 1 jar of salsa (I always use Frontera Foods)
  3. 5 cups of grated cheddar cheese
  4. 3 containers of whole milk sour cream (16 oz/ea)
  5. 2 cans diced green chiles, drained (4 oz/ea)
  6. 1/2 can of cream of mushroom soup (optional)
  7. 1 TBL milk
  8. Freshly ground pepper
  9. Olive (or other vegetable) oil
  10. Flour Tortillas (approx 12-15 medium sized ones)
Instructions
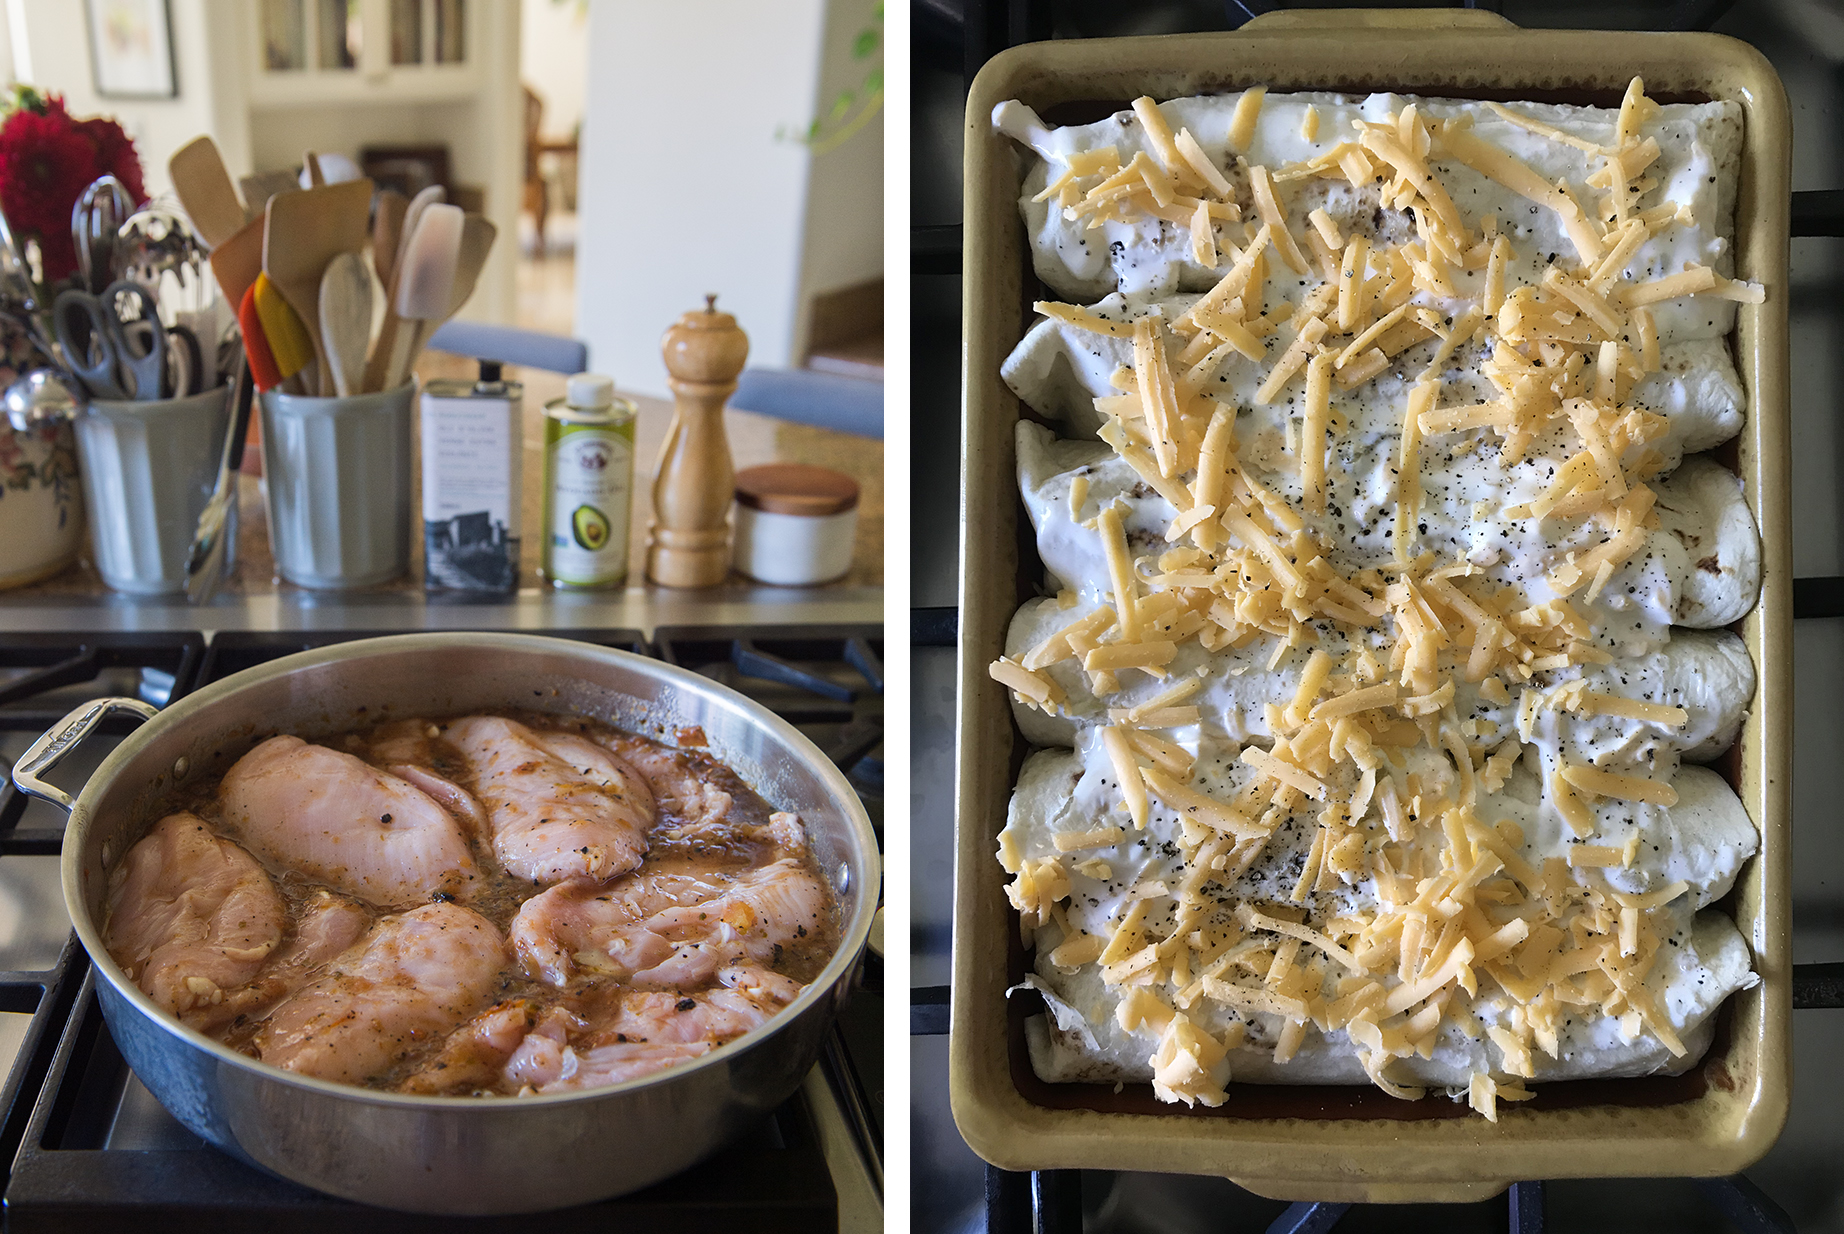
  1. Place the chicken breasts in a large sauté pan. Pour the salsa over the chicken and make sure to coat all of the pieces evenly. Cover with a lid and cook over medium-low heat for 15 minutes (flipping them over halfway through.) Don't worry if the chicken isn't fully cooked through. It should be close, but definitely don't overcook it. Remove the chicken from the pan and set on a cutting board. Heat the remaining salsa in pan on high until substantially thickened and reduced. Once chicken has cooled enough to touch, slice it into bite-sized cubes and place in a large bowl. Pour the reduced salsa over the top.
  2. In a separate bowl, combine 2.5 containers of sour cream, the canned chiles (drain first), the mushroom soup mix (if using) and 3.5 cups of grated cheddar cheese. (These amounts are quite flexible. I usually just wing the ingredients in and stir until it feels right. It should be quite thick.) Mix well and set aside.
  3. Preheat oven to 375º F, if cooking right away.
  4. Now here's where it gets a little tricky; figure out which pans you want to use and what size your tortillas are. *See note below.
  5. Line up your baking dishes, place a little bit of oil in the bottom of the first one. Rub it around to coat the bottom and sides of the dish, so the enchiladas do not stick. Grab a tortilla, fill it with a 2" wide line of chicken all the way down the center of the tortilla, then spread the cream mixture over the top, following the line. They will look nearly equal in size, with perhaps a tiny bit more chicken than cream. Set the tortilla down in the pan and roll it up tightly, flipping to place the seam side down in the dish. I leave the ends of mine open. Repeat until the baking dish is full. Keep making more enchiladas and filling up other pans until you run out of chicken. Now, there should be extra cream mixture left over. If not, throw a little sour cream and cheese into the bowl. Add a splash of milk to the mixture to thin it out. It should be fairly runny. Pour this over the top of all of the enchiladas, then using a spatula spread it around. It shouldn't be a huge amount, just enough to lightly cover a little bit of every enchilada. Then sprinkle the remaining cheddar cheese over the top. Finally, I like to add some freshly ground black pepper for a little extra seasoning and color.
  6. If eating right away, bake in the oven for approximately 45 minutes or until bubbling and golden brown on top. These can also be made in advance and left in the fridge for a few hours. I personally like to freeze anything that won't be eaten that day. I cover the extra pans with plastic wrap, then a layer of foil. They can be cooked straight from frozen. It will likely take a few extra minutes, or if you can remember, take them out a little earlier to defrost prior to cooking.
  7. I like to serve mine with shredded lettuce, chopped tomatoes, sour cream, Cholula, salsa, and a side of refried beans. But they are just fine on their own, too!
Notes
  1. TORTILLAS: I've tried all different kinds of tortillas, from the "Traditional" Whole Foods brand, to the Flame Cooked ones at Trader Joes, to the "Traditional" Trader Joe's variety, to the Indian Life from WF, to most recently, the Siete Grain-free Brand Almond and Cassava flour variety. They are all different sizes and thickness, so it will change the amount of enchiladas you get in the end. The key is to pick whatever tortilla you like the taste of most.
  2. BAKING DISHES: I generally start with one 13x9x2 Pyrex, then fill a couple of smaller pans that I will freeze. Sometimes I do two 13x9x2 (and freeze one of them). Other times, I'll do a mix of 3 different baking dishes of varying size. It can be nice to occasionally make smaller portions for when I only need a couple of enchiladas. You want the enchiladas to fit snugly together, so it may take a few tries to get it right for your pan and how many are needed at one time.
180360 https://www.180360.com/

Poaching + Assembled


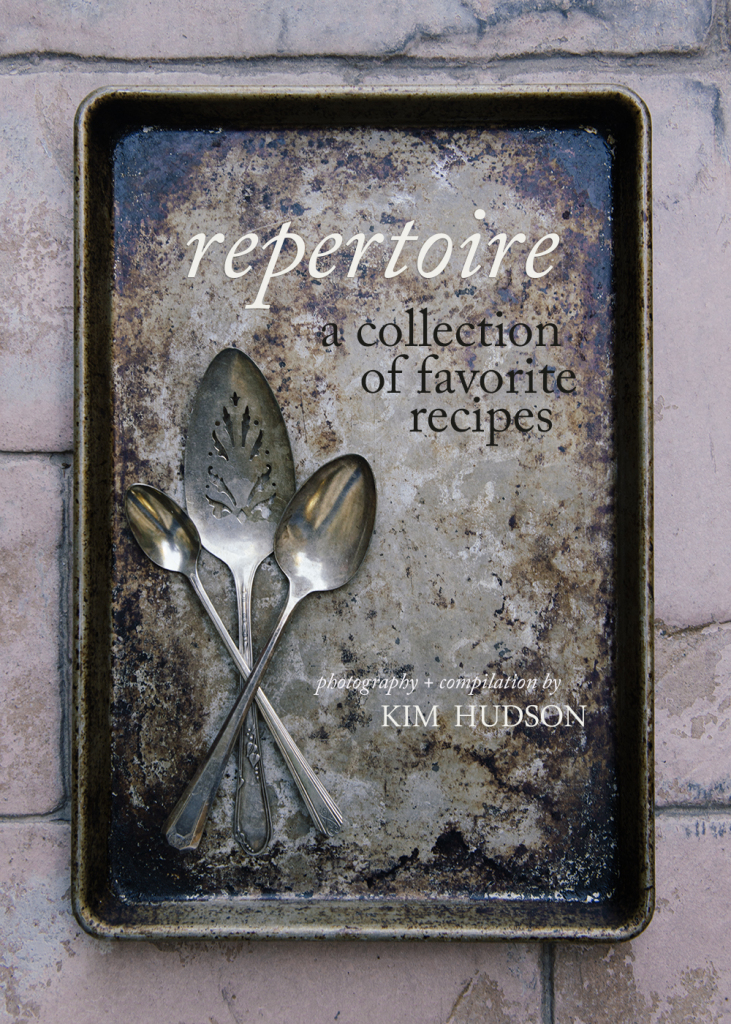
Introducing: Repertoire

///

180360_Repertoire_CoverI’m not sure what’s in the air, but boy have I been in the mood to tackle projects that have been looming over me for years! There has been a bunch of purging going on around here and this lightening of the load has inspired action in all sorts of other areas.

One thing I’ve always wanted to do is compile a cookbook with all of my favorite recipes. But between homeschooling, travel and then a baby, anything non-essential was put on the back burner over and over again.

Well the time has come! I can’t handle my recipe filing system any longer. It is a complete disaster of folders upon folders of magazine tears, hand written notes, and food spattered print-outs. (Please tell me I’m not the only one with this problem!)  I can’t help but think it would be so nice to have all of these recipes in one, tidy place.

I realize this project is primarily for me (and perhaps a future gift for family members), but I thought I’d post all of the recipes and images here to keep me accountable. Some of these I know by heart, yet I’d like to take the time to write down exact measurements so I can share them with others. But the majority are recipes I’ve collected over the years from blogs, through friends, family members, cookbooks, or magazines. I am so tired of constantly trying to search for them in my messy cabinet or look them up online for the 50th time!

Not only will this book help me pare down the mess that is currently taking over my kitchen cabinets, but it will also force me to work on my food photography skills. Win win! And who knows? Maybe one of these recipes will become a favorite for someone else…